


Choosing an iPad repair company isn’t the only thing to consider. You should also be aware of the tools you’ll need to do the repair, as well as the price. In addition, you should also decide if you should do it yourself. If you don’t have the tools, you may want to hire a repair company.
Choosing a repair company
Choosing a repair company for your iPad Air screen replacement is an important decision, and you will want to choose one that uses high-quality parts and has a proven track record. The Fix meets all of these criteria. You’ll want to bring your iPad in for a screen replacement as soon as possible.
In the event that you don’t have an AppleCare warranty, the screen replacement process can be a costly affair. It is recommended to compare repair and replacement costs. If you’d rather get a new iPad, you can always use your broken screen as a justification for buying the latest model.
The cost of an iPad screen replacement will depend on the size and type of the screen. However, if you’re an AppleCare+ customer, the cost will be lower. Depending on your AppleCare policy, you may be covered for the cost of the screen replacement if you purchased the device within the last 60 days.
Cost
The cost of an iPad air screen replacement depends on several factors. The cost of the parts and the labor used to repair the device will determine how much the repair will cost. The cost of the replacement will increase if the damage to the screen is extensive. Moreover, the person who performs the repair is an important factor.
If you need the screen replaced, you can go to an Apple service center or even do it yourself. However, you should be careful not to choose a repair shop that doesn’t offer a warranty or a guarantee. This is because the replacement screen may not be of good quality and may not be guaranteed. Also, you should ask whether the repair shop has ties with Apple.
The repair procedure for an iPad Air screen replacement may cost anywhere between any price depending on the model of the iPad, you can save money by performing the repair yourself. While you can do it yourself at home, you should consider the quality of the screen and its material. A good quality screen is essential for the durability of the device.
If you should do it yourself
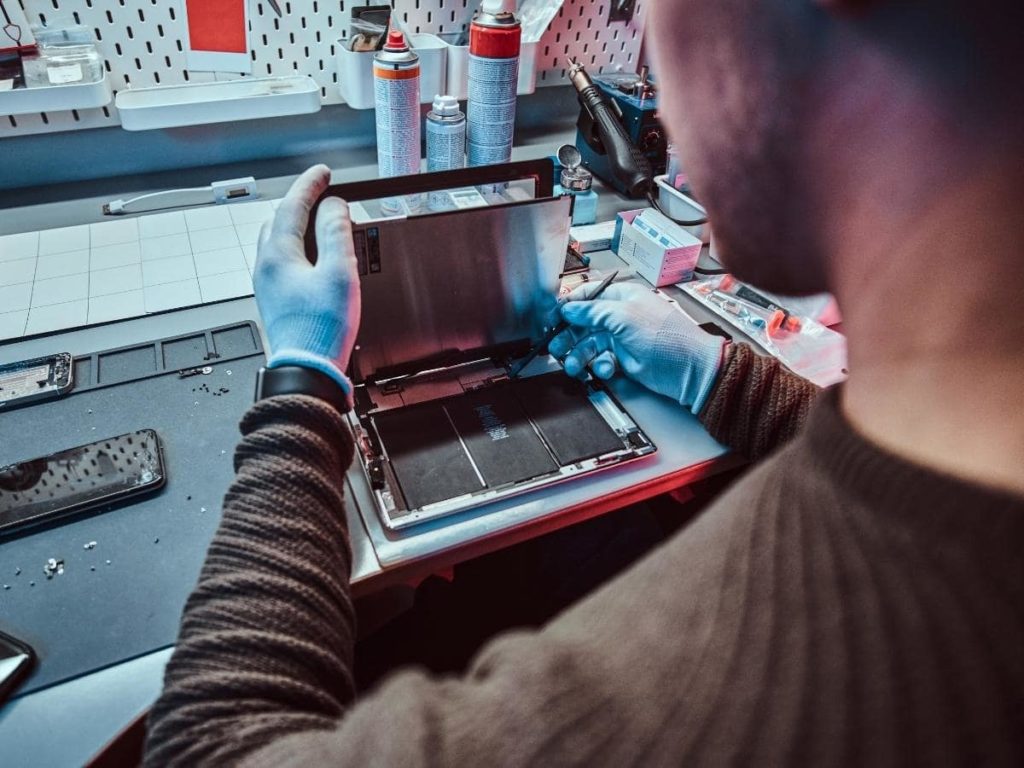
The first step in a DIY iPad air screen replacement is to carefully separate the glass and metal frame. This can be done with the help of a plastic spudger. Next, slide the black plastic spudger between the glass and metal frame. Slide it along the left and bottom edges of the iPad. Once the glass is free, place the new digitizer next to the iPad and connect it to the home button cable and connector.
Once you have removed the screws holding the LCD in place, you can now begin the replacement process. The top of the iPad should lift up, revealing the internals. There are three screws holding up the metal connector shield. Once the LCD has been removed, you should be able to lift it up and remove the screws.
One problem with DIY iPad screen replacements is that they can cause more damage than they solve. For example, one blog suggests patching the screen with toothpaste, but it doesn’t work. Moreover, you should remember to remove any toothpaste from the screen before proceeding with the repair. Silver polish or baking soda may also damage the screen.