
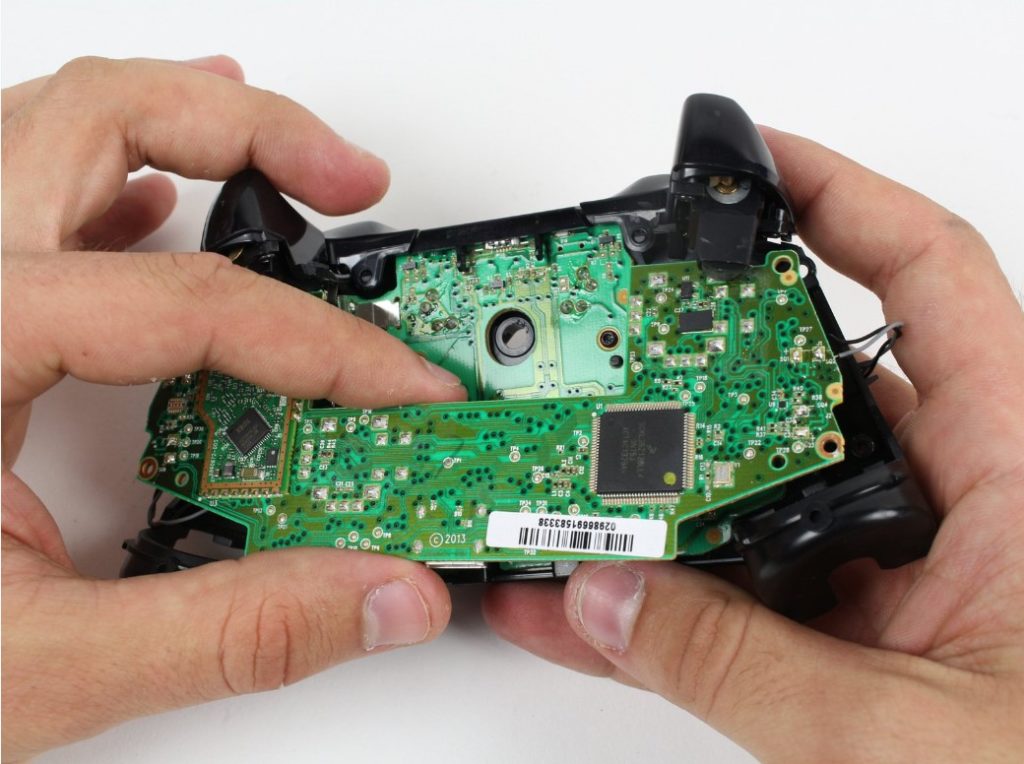
The process of disassembling a PS4 controller involves several steps. There are four screws in the back and two handle parts. You must exert force to separate the parts. Next, you should disconnect the ribbon cables inside the controller. Make sure to avoid damaging the bottom index triggers and cross members. Finally, you can clean and adjust the joystick calibration. Once this is done, you can reassemble the PS4 controller.
How to Clean a PS4 Controller
Regular cleaning is a crucial part of ensuring the controller remains in good condition. This prevents dust buildup, overheating, and performance slowdown. It will also help extend its life. Here are some tips on how to clean a PS4 controller. To start with, remove the outer casing. If necessary, you can use a cotton swab and water to clean the inputs. For other interior parts, you can use isopropyl alcohol or a sanitizer. However, don’t use pressurized air to clean them. You must be very careful to avoid disconnecting any wiring.
The first step in cleaning your controller is to take a microfiber cloth and baby wipes. It’s best to focus on cleaning the surface of the controller first and not get into any nooks and crannies. After this, you can use compressed air to clean the ports and crevices. You can then use a microfiber cloth to clean the rest of the controller. Once you’ve completed these steps, you’re ready to start using your PS4 controller.
Before cleaning the thumbsticks, you should use a damp microfiber cloth to remove any dirt or stains from the touchpad. To avoid causing more damage, you should avoid pressing the buttons. You can also use a cotton swab to clean small crevices, such as between the thumbsticks. Also, you can use a cotton swab to clean the buttons and the speaker grill.
How to Adjust The Joystick Calibration
Before you can adjust the joystick calibration of your PlayStation 4 controller, you must first know how to disassemble the PS4 controller. This will help you determine the exact cause of the issue, and also ensure that you get the best results. To do this, you have to press the right and left buttons 10 times in a row. Once you have achieved this, rotate both analog sticks until they feel right.
Firstly, clean the PS4 controller. You can use a microfiber cloth or compressed air to clean the controller. After that, adjust the joystick calibration. To do this, go to Settings > Devices and select your PS4 controller. Next, press the X or B buttons to save the adjustments. Then, play a game to check how the controls feel. Hopefully, this should fix the problem.
Next, you need to make sure that the joysticks are receiving proper events. You can enable this by checking the “Assign to Playing Players Only” checkbox. This will prevent the joysticks from registering events that aren’t relevant to them. Additionally, you can configure the joystick to receive ReInput.ControllerDisconnectedEvent events. To turn off these events, you have to make sure that the PlayStation 4 controller is connected to your console with the right cord. Then, you can start playing your favorite game.
How to prevent cross members from damaging the bottom index triggers
The cross members on the PS4 controller’s bottom half are prone to damage the bottom index triggers. To prevent this from happening, you should first make sure that the controller is off. This can be easily accomplished by depressing both analog triggers. Then, you should use a plastic pry tool to remove these cross members. Make sure to use the correct tool for the job, and avoid damaging the softer plastic parts.